great, that’s exactly its intended usecase! (you could optionally skip the DAW part, too and just have live fun with your loops, hehe :))
BLM = button / led matrix, usually used for its bigger brother, the SEQ v4+ - in the LoopA context, it would be smaller and consist of 6x6 backlit buttons to launch (and stop) clips individually. Plus it would contain an additional column for “full scene launching”, just like in a quite well-known clip-based DAW
Have a happy weekend and thanks for your interest in it!
Many greets, Peter
Well, it has certainly taken a while, but the LoopA release should really be happening soon, now! The assembly video tutorial has been completely filmed (350 GB of 4k footage), and now “just” needs video editing and voiceover. The PCBs have been built a third time and the BOMs are now verified. Also, the launch software version 2.05 has been tested, tested again and then completed :).
Many thanks to Andy for the huge amount of time he invested in this, from creating the PCBs to endless dicussions to finally proofreading the manual!
And here it is - we’ve finished the LoopA user manual , describing all features and screens in 20+ pages, so you can have a glance what the unit will do - we hope you will like it:
Of course, there are lots of future features/enhancements on the wishlist, but the current features will be “it” for the launch and we hope you also consider them to be nice!
An (incomplete) list of new things since the last update:
* named user instruments mapping to hardware MIDI ports/channels (e.g. you can now simply use “ANDROMED” instead of memorizing MIDI OUT1/CHN1)
* a detailed setup page, allowing to configure global parameters
* a new and optimized page switching UI, using a onehanded two-finger-gesture facilitating “haptic finger memory” for quick page switching
* fully graphical menu/page icons
* a dedicated shift button, allowing for direct mutes/unmutes from every menu screen (an often needed feature)
* two powerful live performance modes (beatloop/transpose), switchable and directly mapped to a separate performance encoder
* MIDI metronome support
* live (re)quantized swing
* note randomization/probabilities (visualized als “animated quantum note clouds” if the clip notes playback probability is less than 100% :))
* note freezing option after transformations (allows e.g. to “move” notes around a clip first, freeze and then “scale” their playback speed)
* integrated context-sensitive help system explaining every feature of every screen
… and a few others
Hope you enjoy! Please stay tuned, more coming soon!
Another update - filming and video editing of the LoopA construction video tutorial is completed, all is looking good, we should be able to release the LoopA right in time before the holiday season!
Here is a new LoopA demo video, this time concentrating on a few of the new “launch version” features, most notably beatloop and live transposition of selectable tracks:
The demo is not at all focussed on musical finesse :), but to show some of the new features integrated in the launch software version of the LoopA.
In the beginning of the track, the LoopA is launched with “Beatloop” mode active, a new non-linear time progression model, which has different modes. Some modes scan the sequence while retaining an identical sequence playback time. It is great to create new melodic progressions while retaining harmonies and is also interesting for scrambling up recorded drumloops.
Later on, we explore some “live transposition” features, where multiple selectable tracks (e.g. to exclude drum tracks) are transposed via a single live encoder action. Live transposition is measure-synchronized to occur “always just in time”.
Also, scene progression is fully synchronized to the recorded loops, so you can confidently proceed to a new scene at any time in your performance.
The LoopA is inteded to be used as a “musical note pad” or an “idea generator”, it has been designed to be easy to use and has different features than its bigger 16-track brother, the SEQ v4+. Depending on your musical style, it should normally be easily able to hold a whole song in a session, which contains up to 36 looped note clips (these are arranged in 6 tracks x 6 scenes). Sessions are fully storable and recallable on/from a removable SD card within seconds.
Hope you enjoyed the demo - and thanks for watching and listening!
And, it’s finally release-day, sorry for all the delays and thanks to everyone who helped!
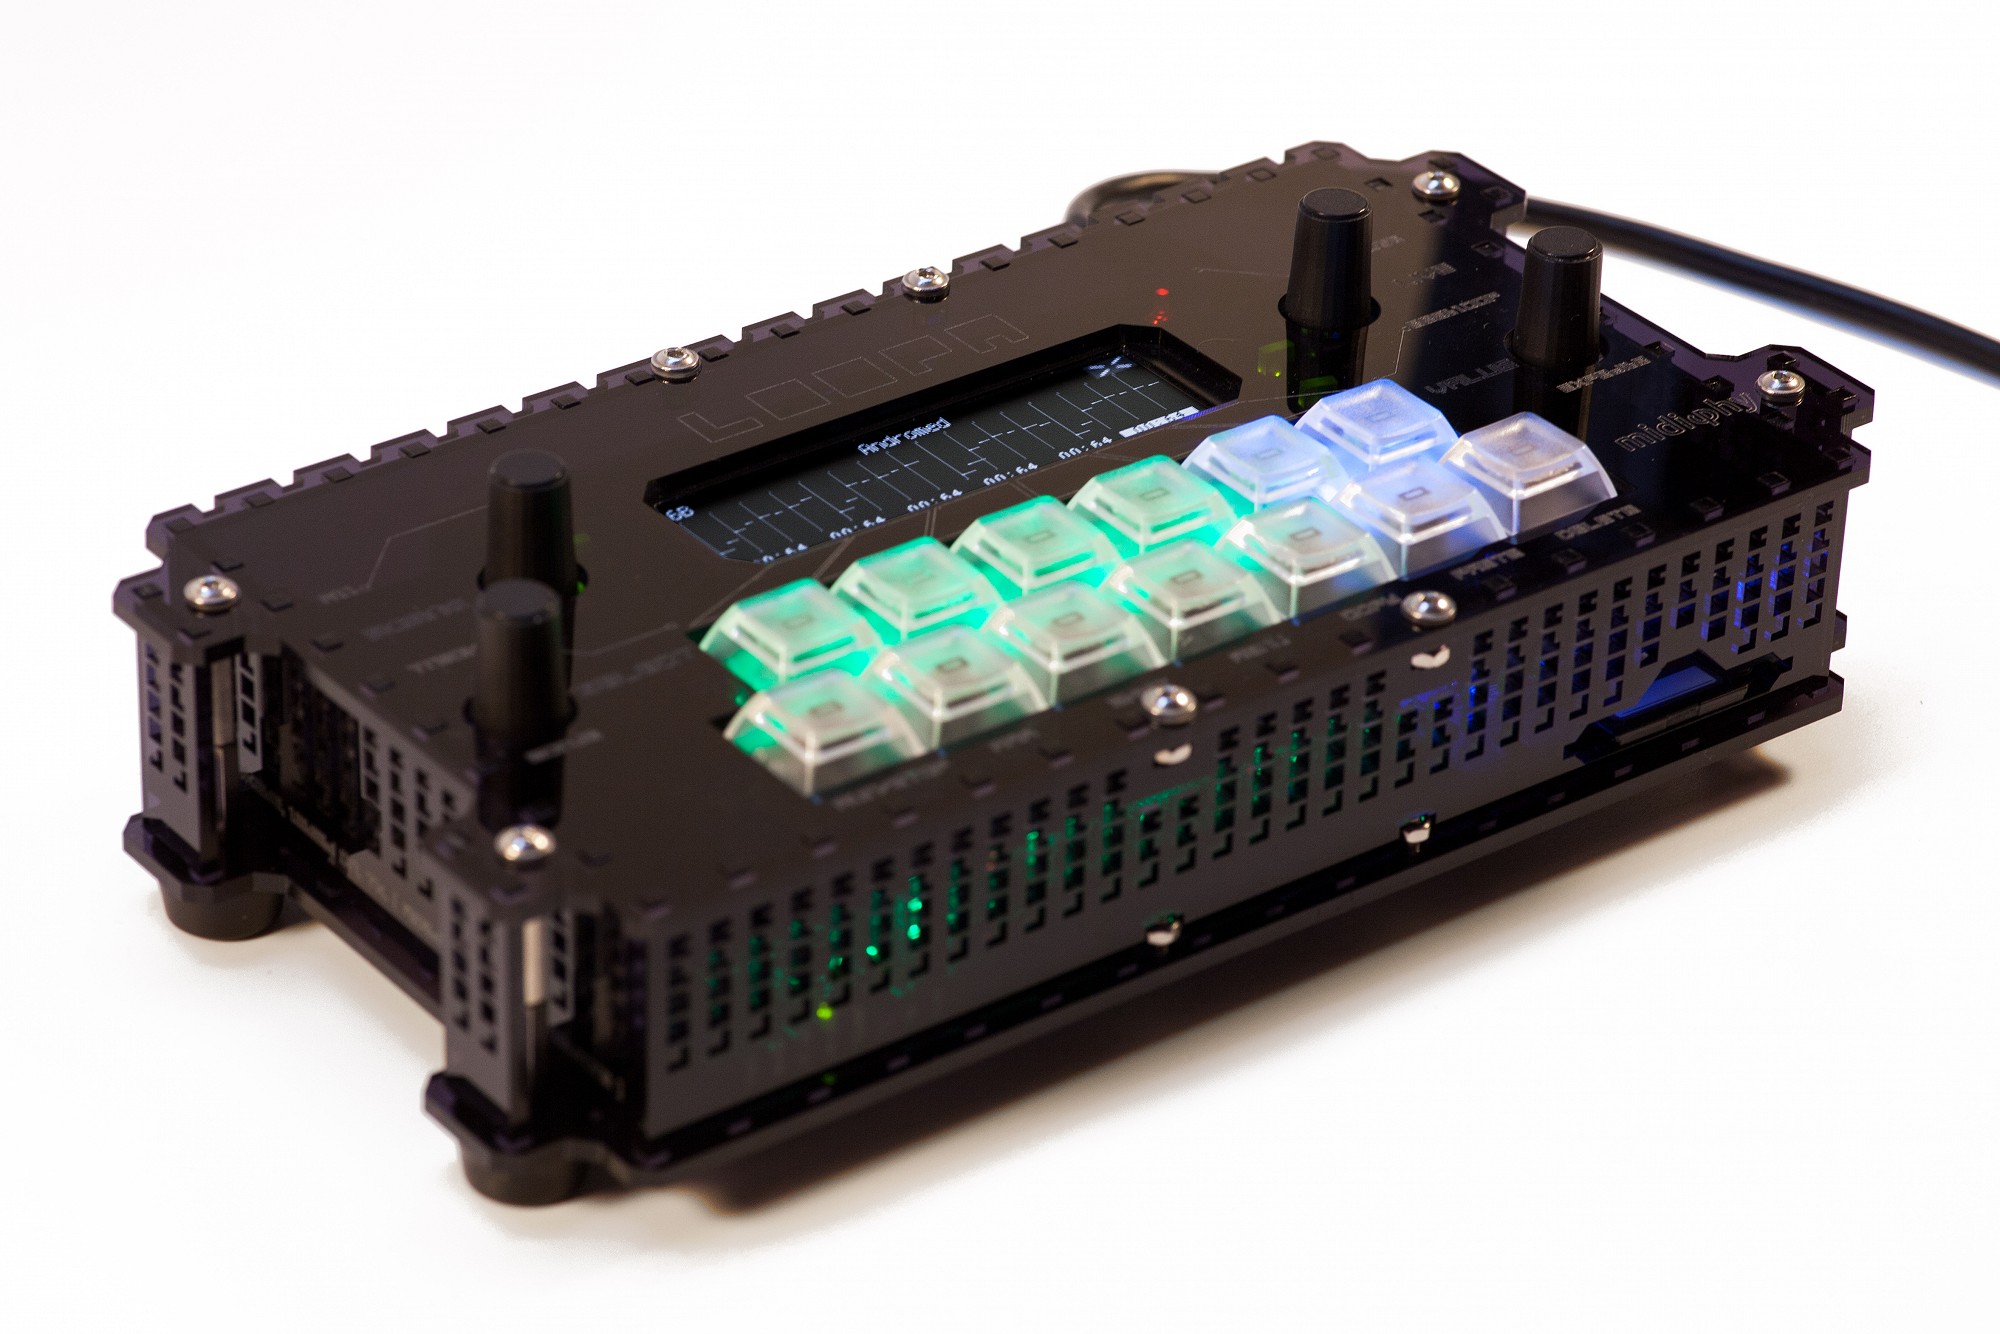
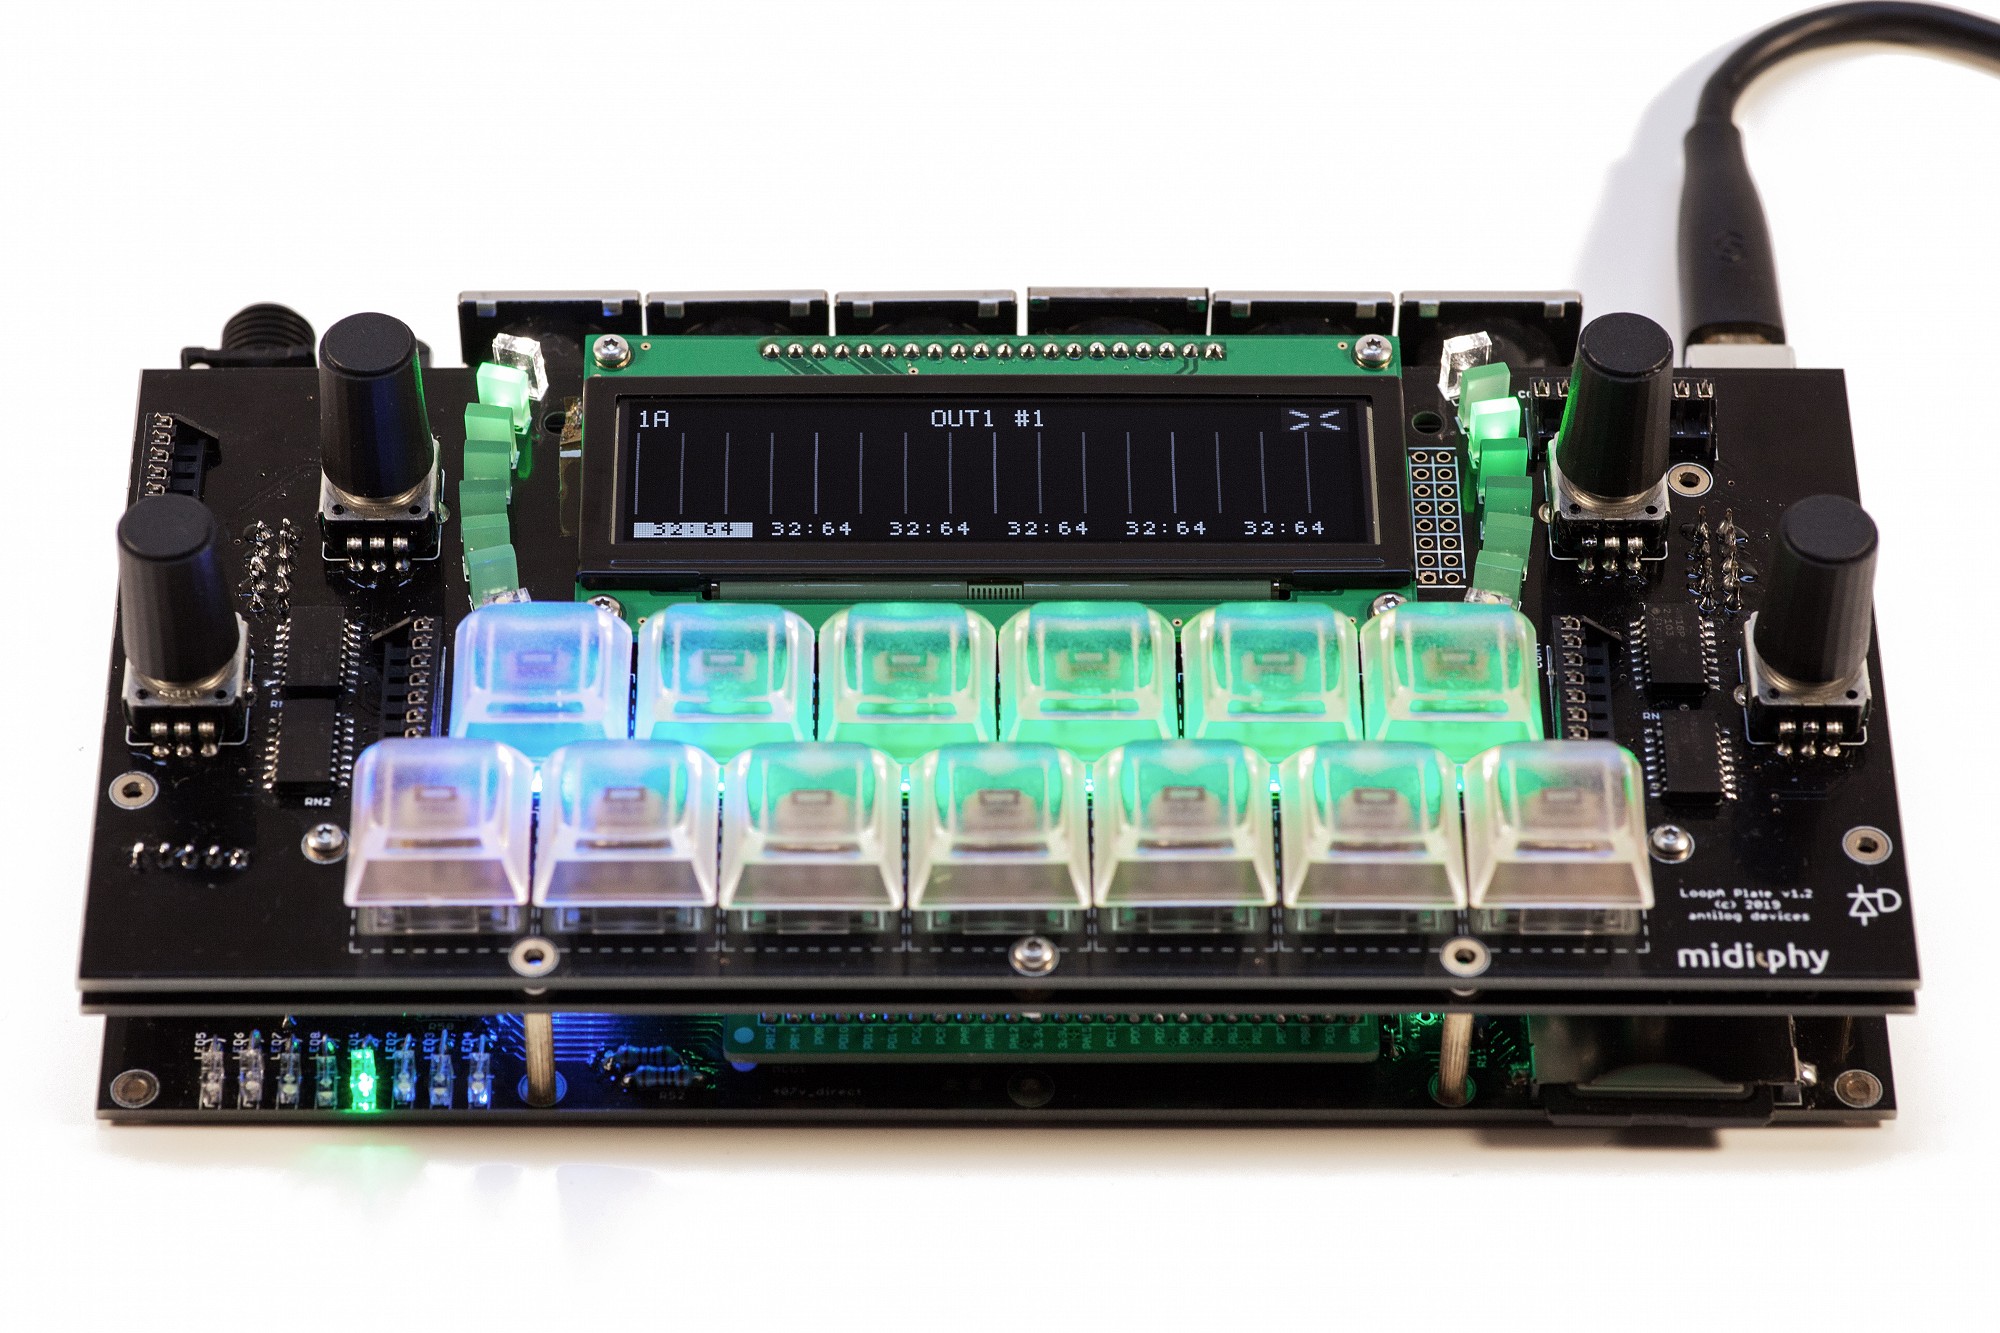
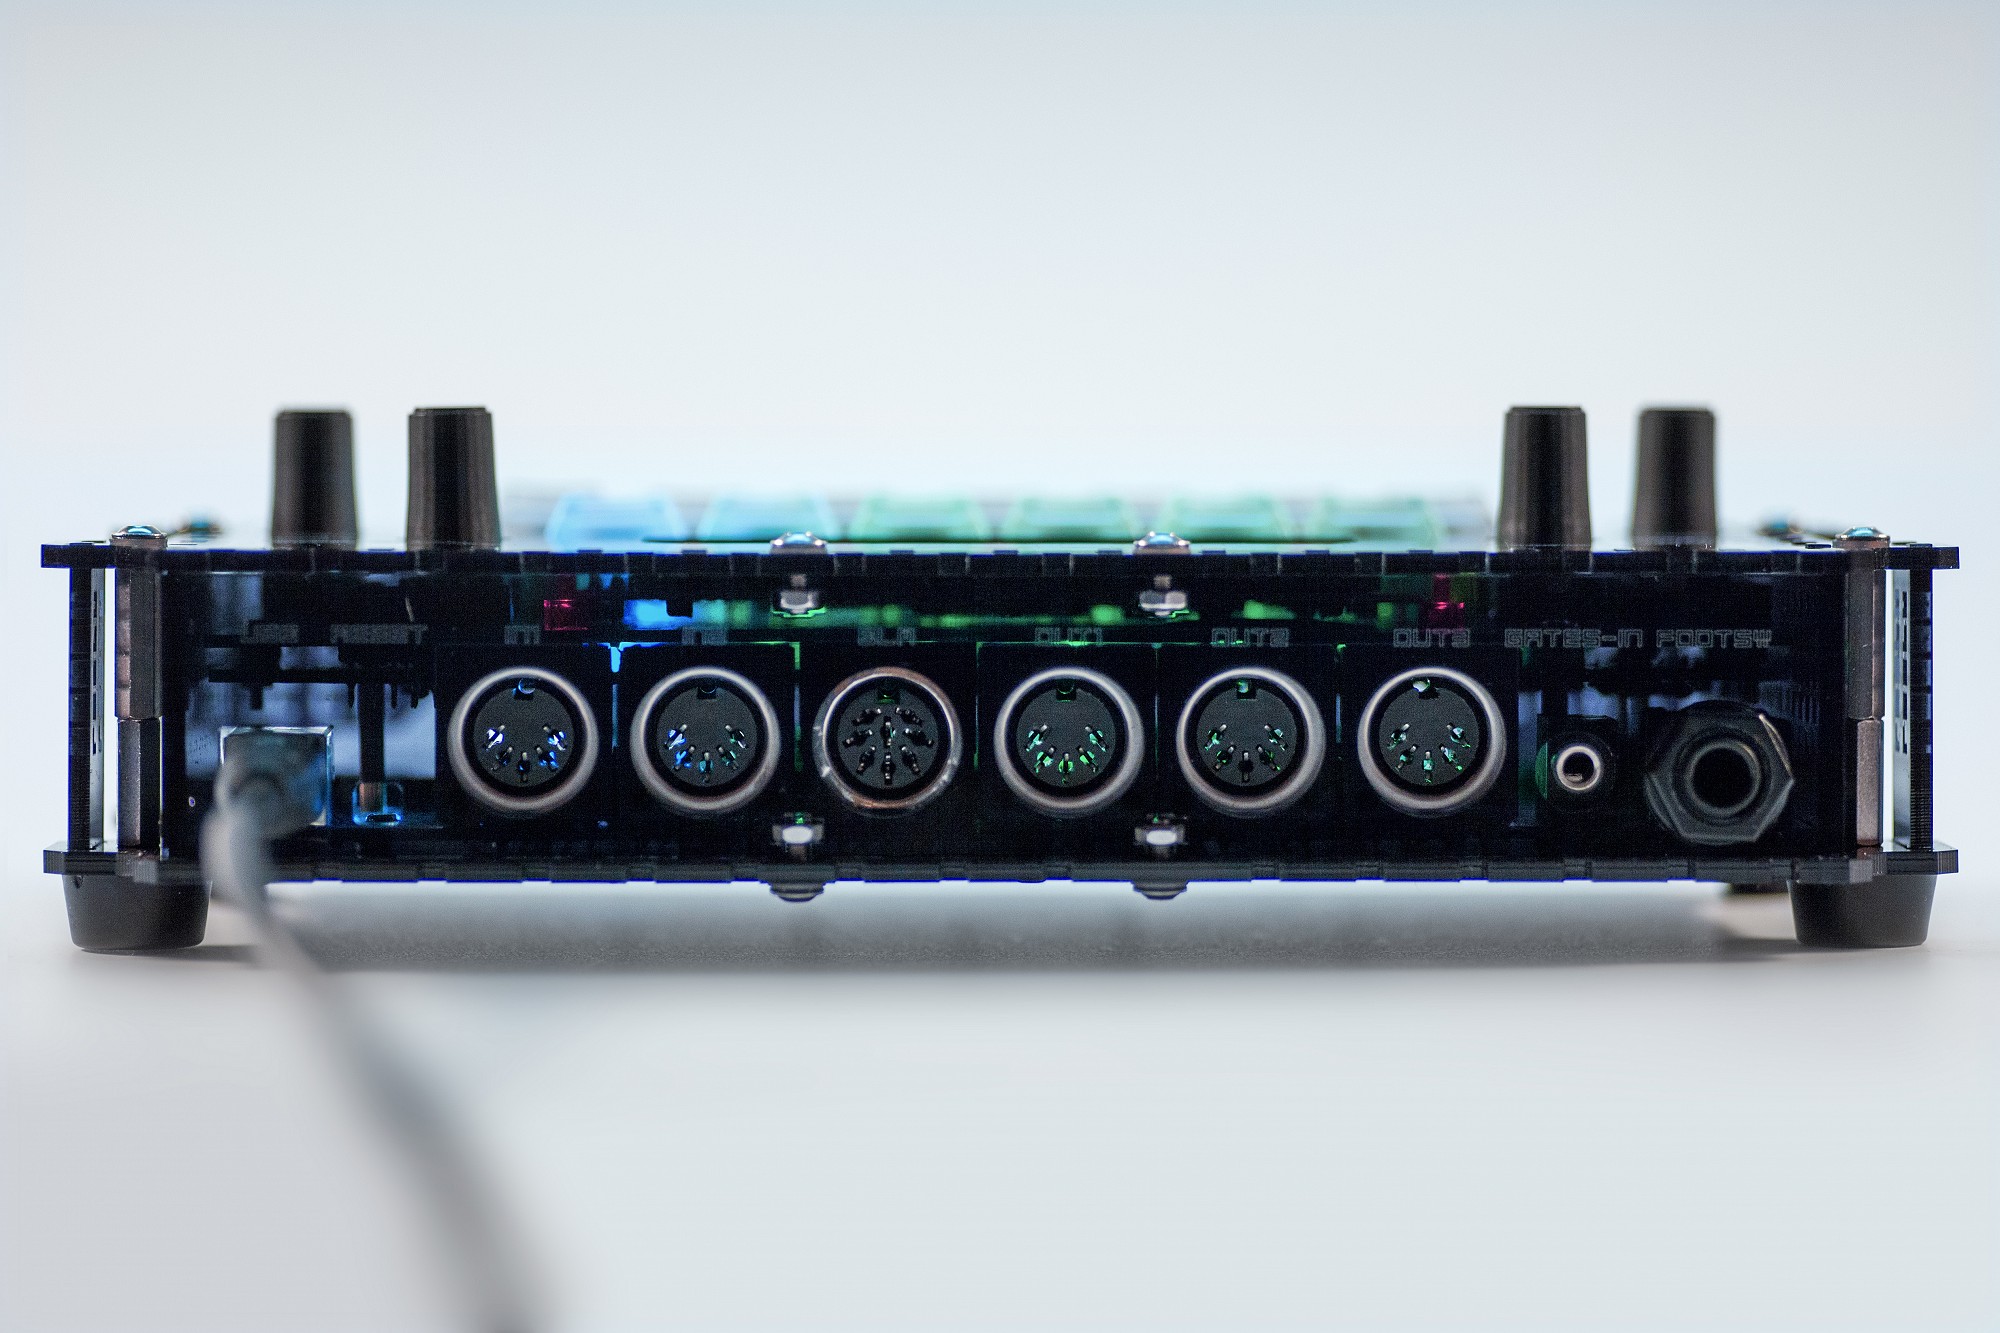
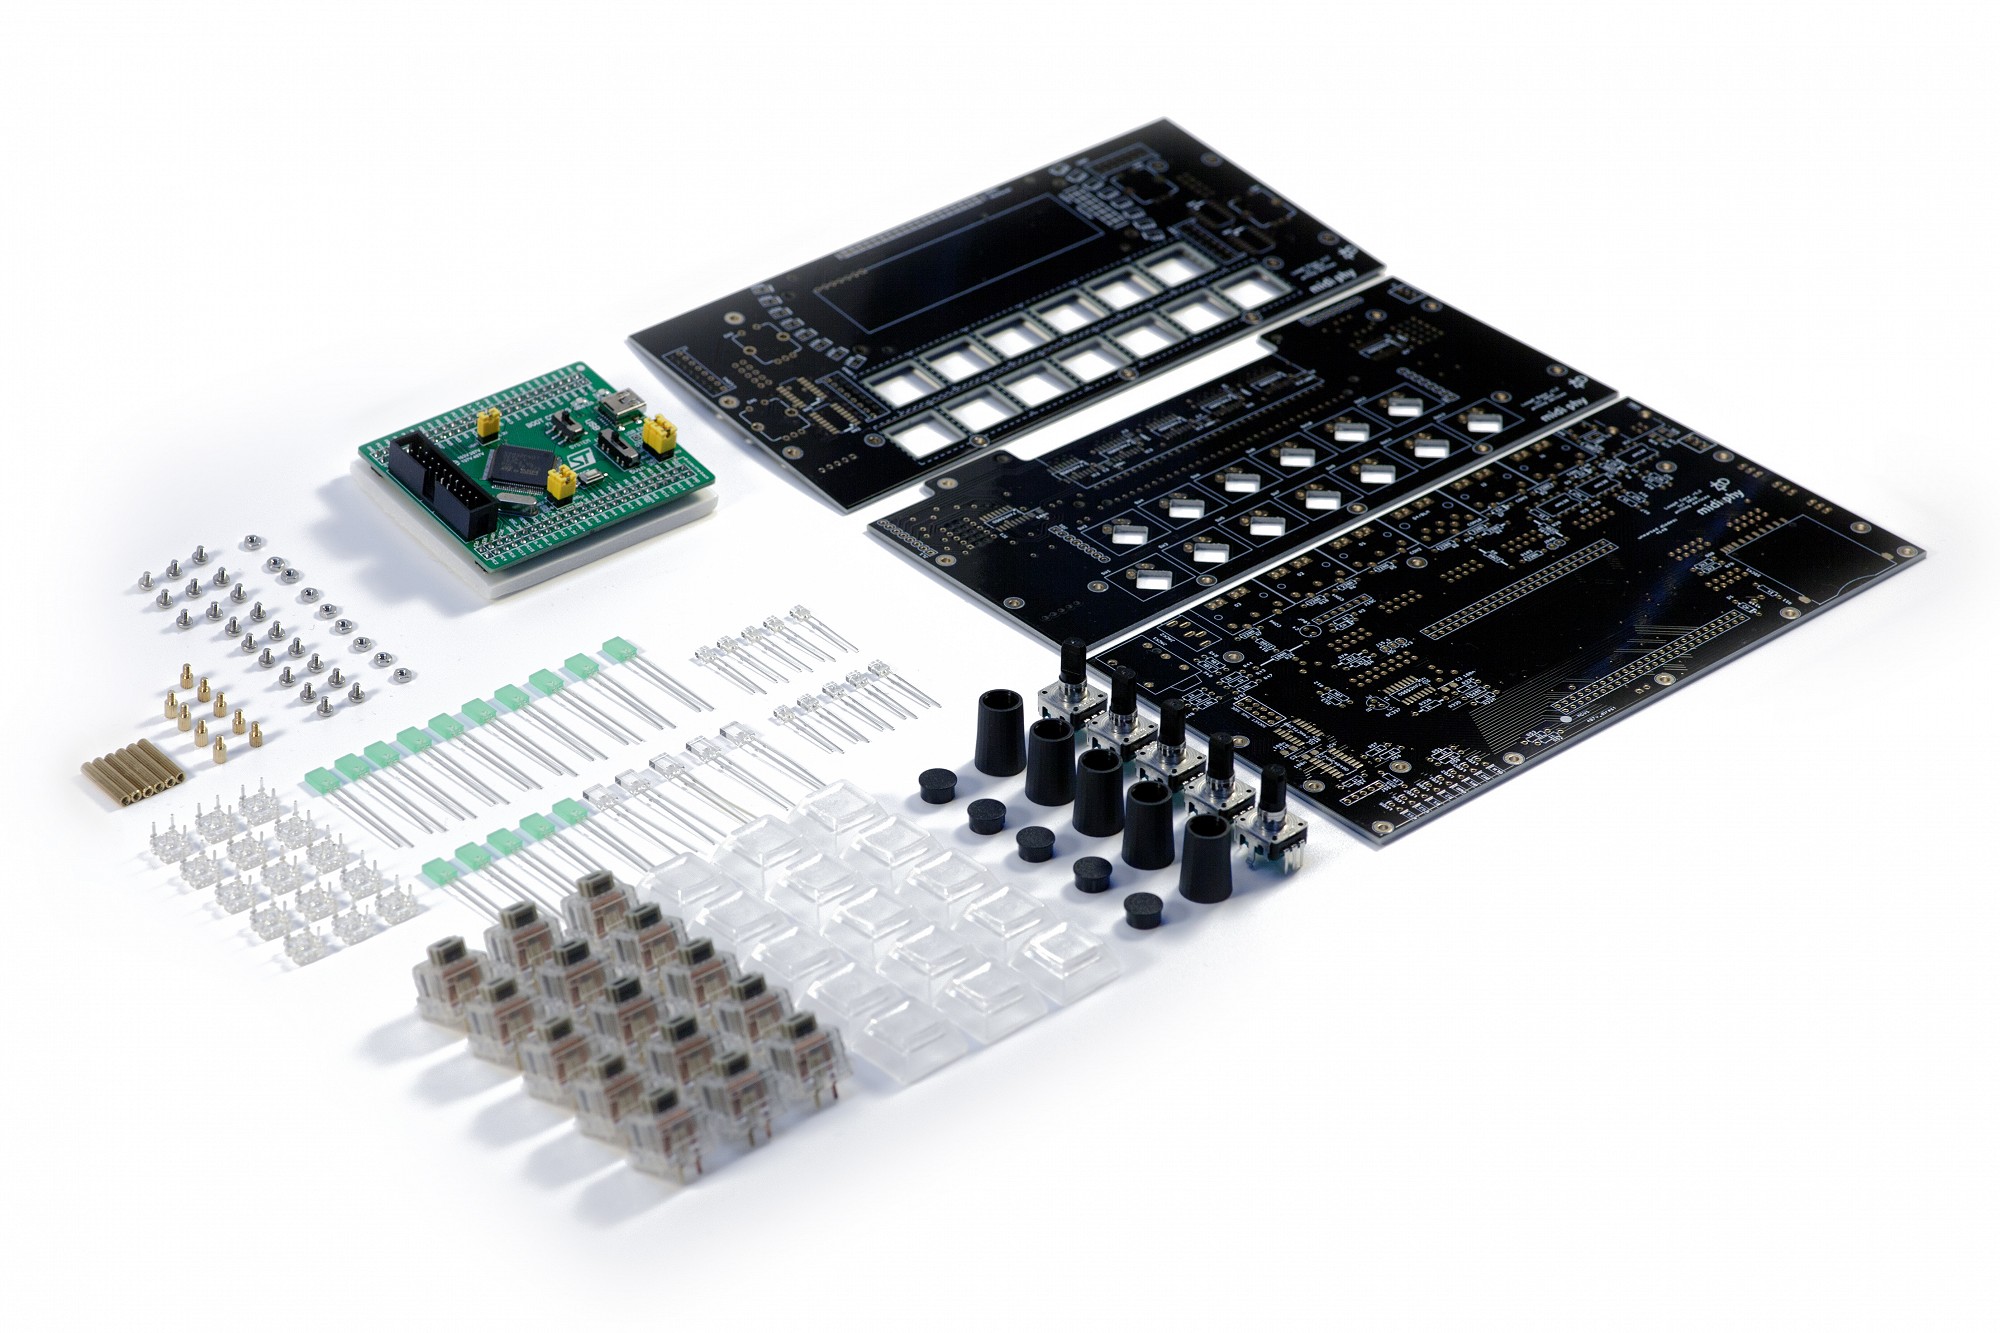
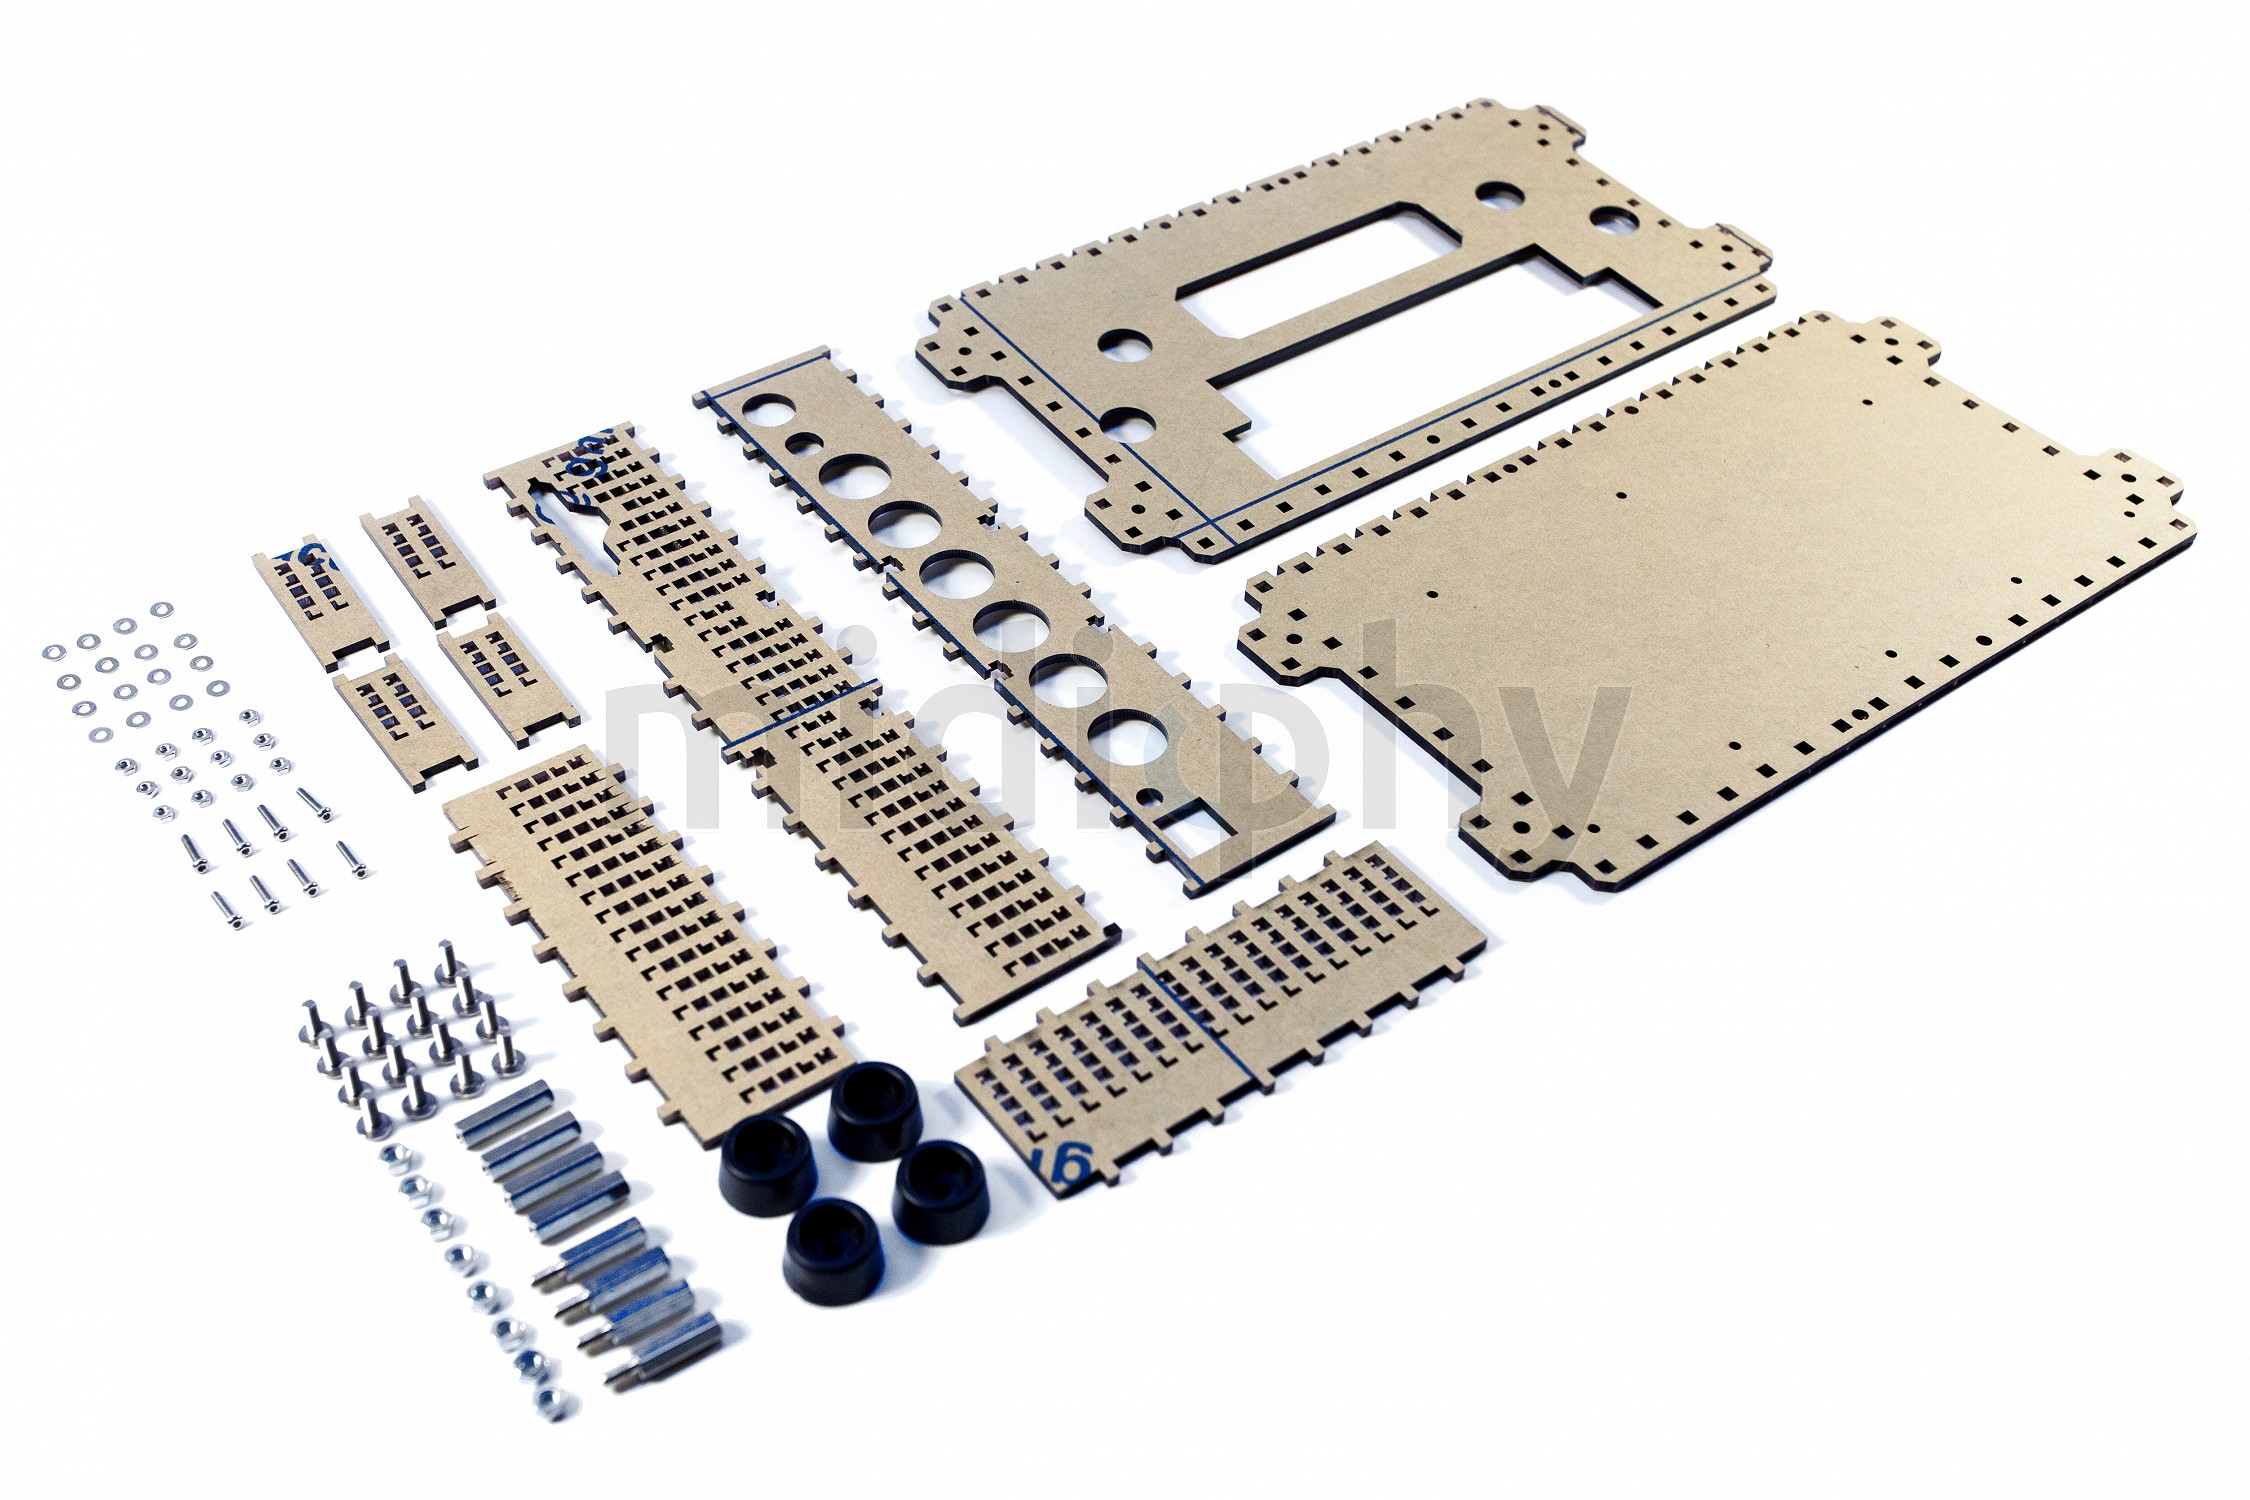
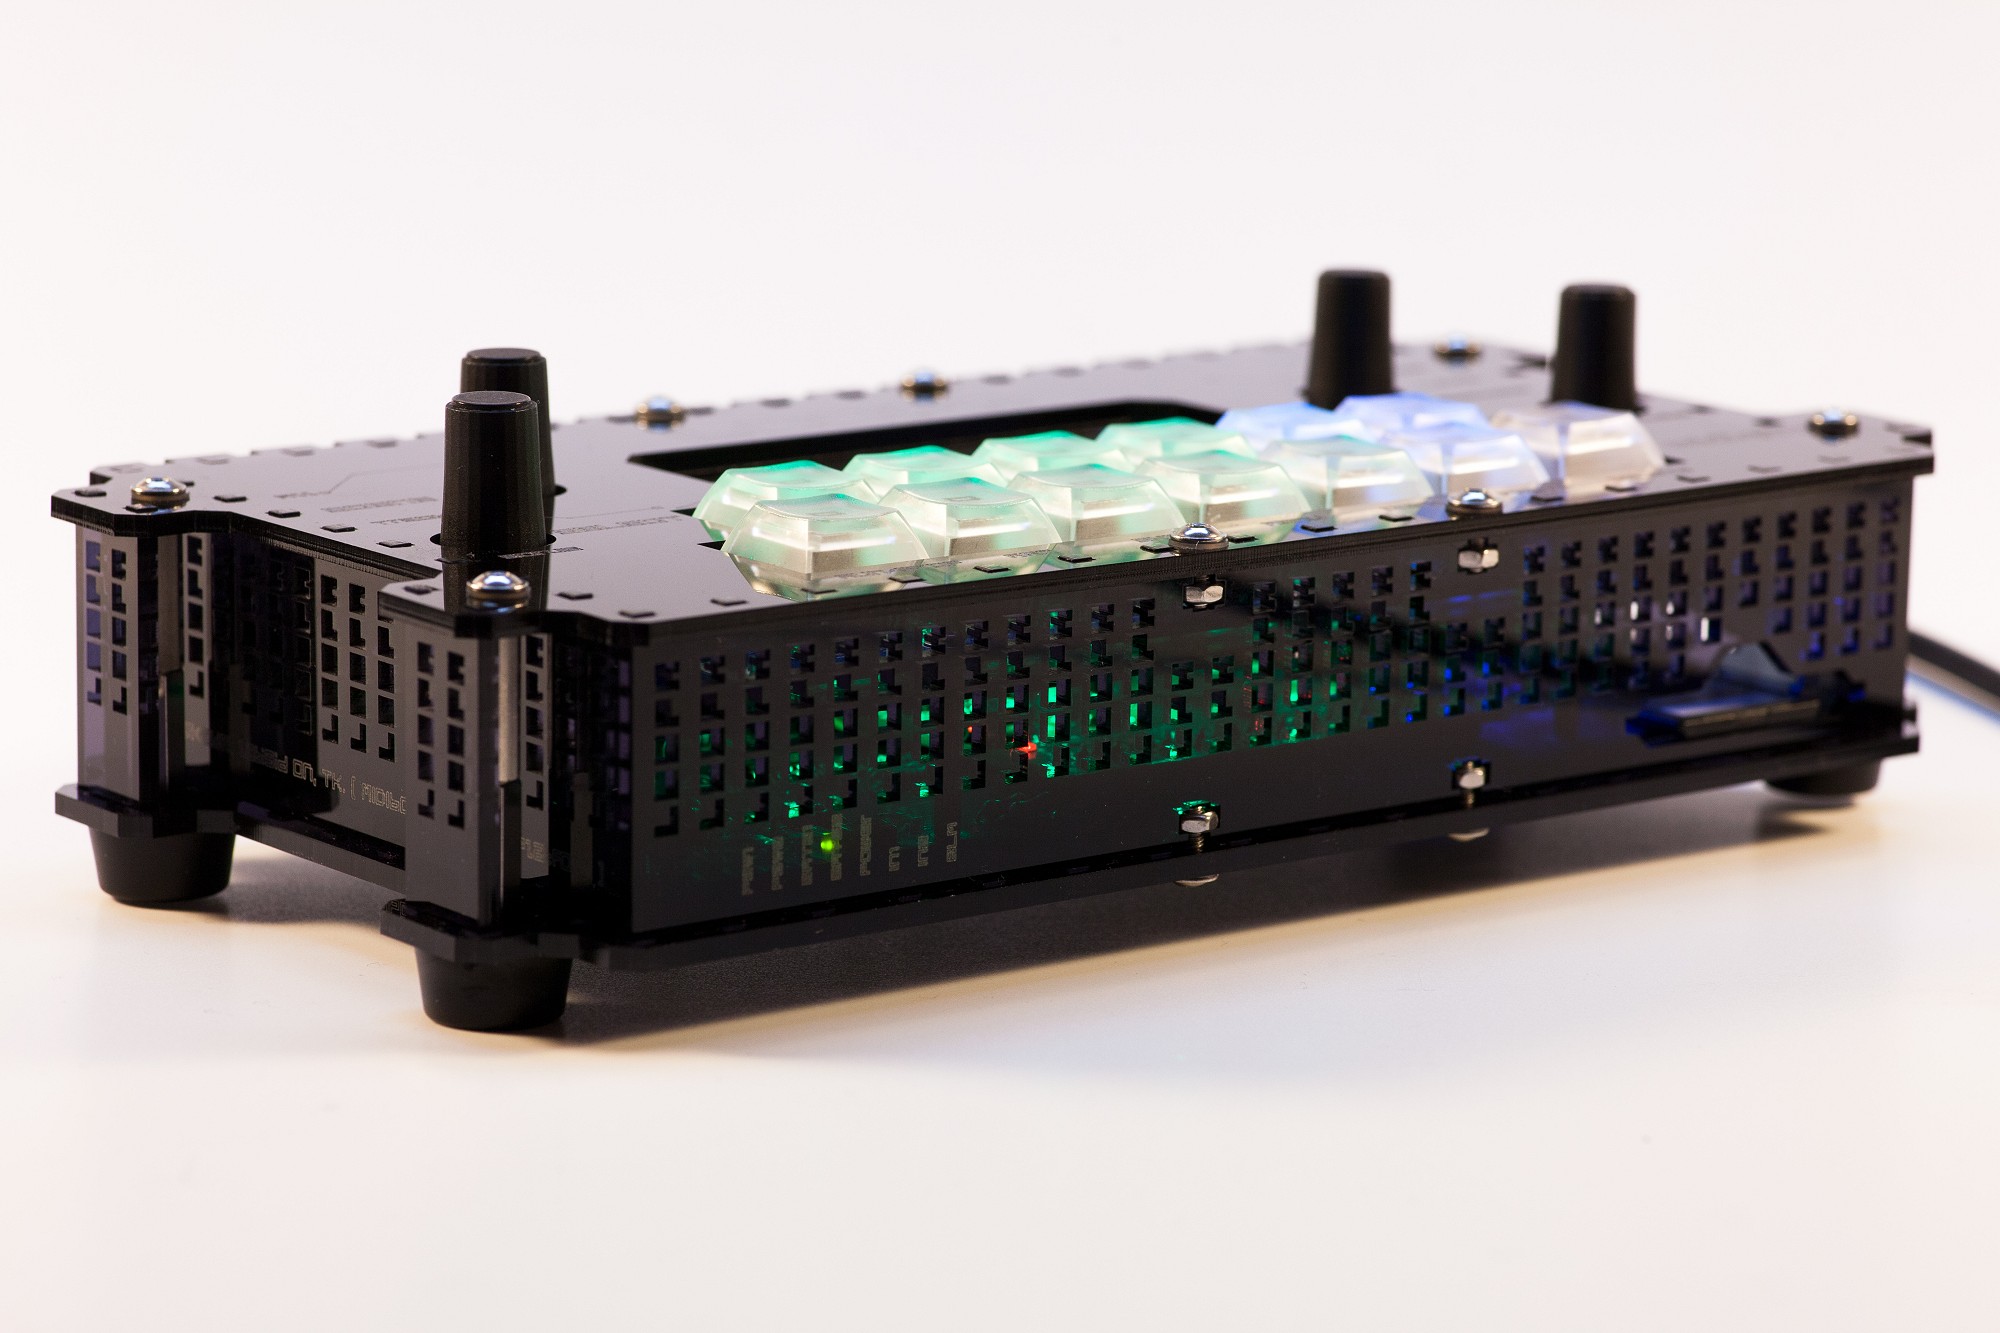
The LoopA is now publicly available in two variants, a caseless/barebones variant, and an acrylic case variant:
Also, Adrian Hallik from Hallik Engineering is working on a new metal case, which should be available in early 2020. You can easily transplant the caseless LoopA to any case.
Here is the full (2 hours +) video tutorial, all in all it should be a doable project and there are no IDC cables to build!
And here are some impressions/photos of the kits and the final units - enjoy!
Firmware releases and user manual/handbook documentation updates will always be posted/linked in the first posting/on top of this thread!
Have a great weekend and hope you enjoy the LoopA!
Best regards,
Peter
@Phat, that sounds great!
At some point in time, the LoopA software will probably get a CC track type, but it will never be as powerful as your dedicated CC Looper, that can just use the full STM32F4 memory for that single purpose
Posting this in case I forget it.
I couldn’t receive a response from the Core using MIOS Studio 2.4.6 which i downloaded about 2 years ago.
Using the latest version 2.4.8 allowed the core to respond and I was able to upload the firmware.
When pushing down the Headers for the OLED I noticed that the top of the 8 pin DIN for the BLM got in the way despite filing off the “nip” as Peter put it. I had to file the corner / back of the connector off at an angle even further so the standard SIL pins would have enough clearance.
Maybe my connector is slightly different to the one Peter used in the video? It sure looked the same, as it has the metal tab on front that needed to be filed down.
Case goes on tomorrow morning and I should be done!
Could you post a photo of the clearance issue just to confirm? You mean that the soldered row on the rear of the plate PCB still conflicts? Did you trim the pins before soldering as suggested? Maybe more trimming is needed?
That DIN8 is actually EOL anyway so we need to see how the replacement looks.
")
")
