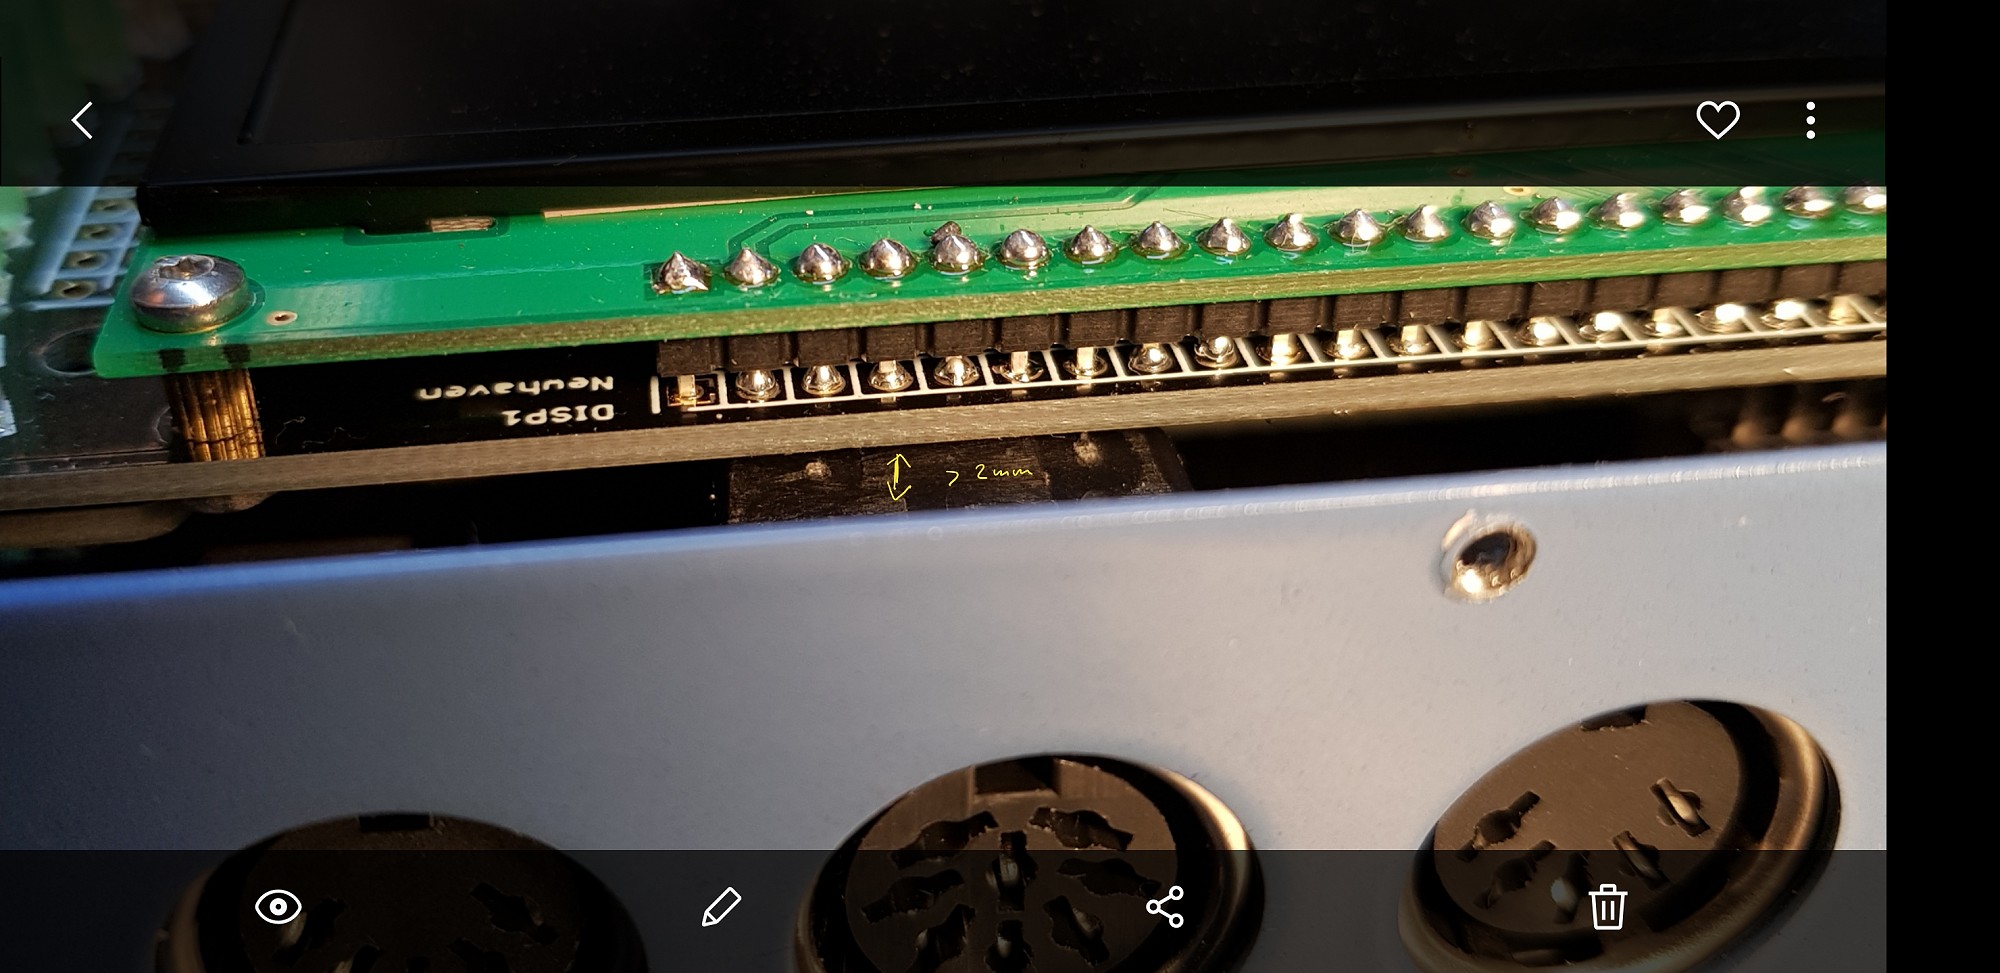
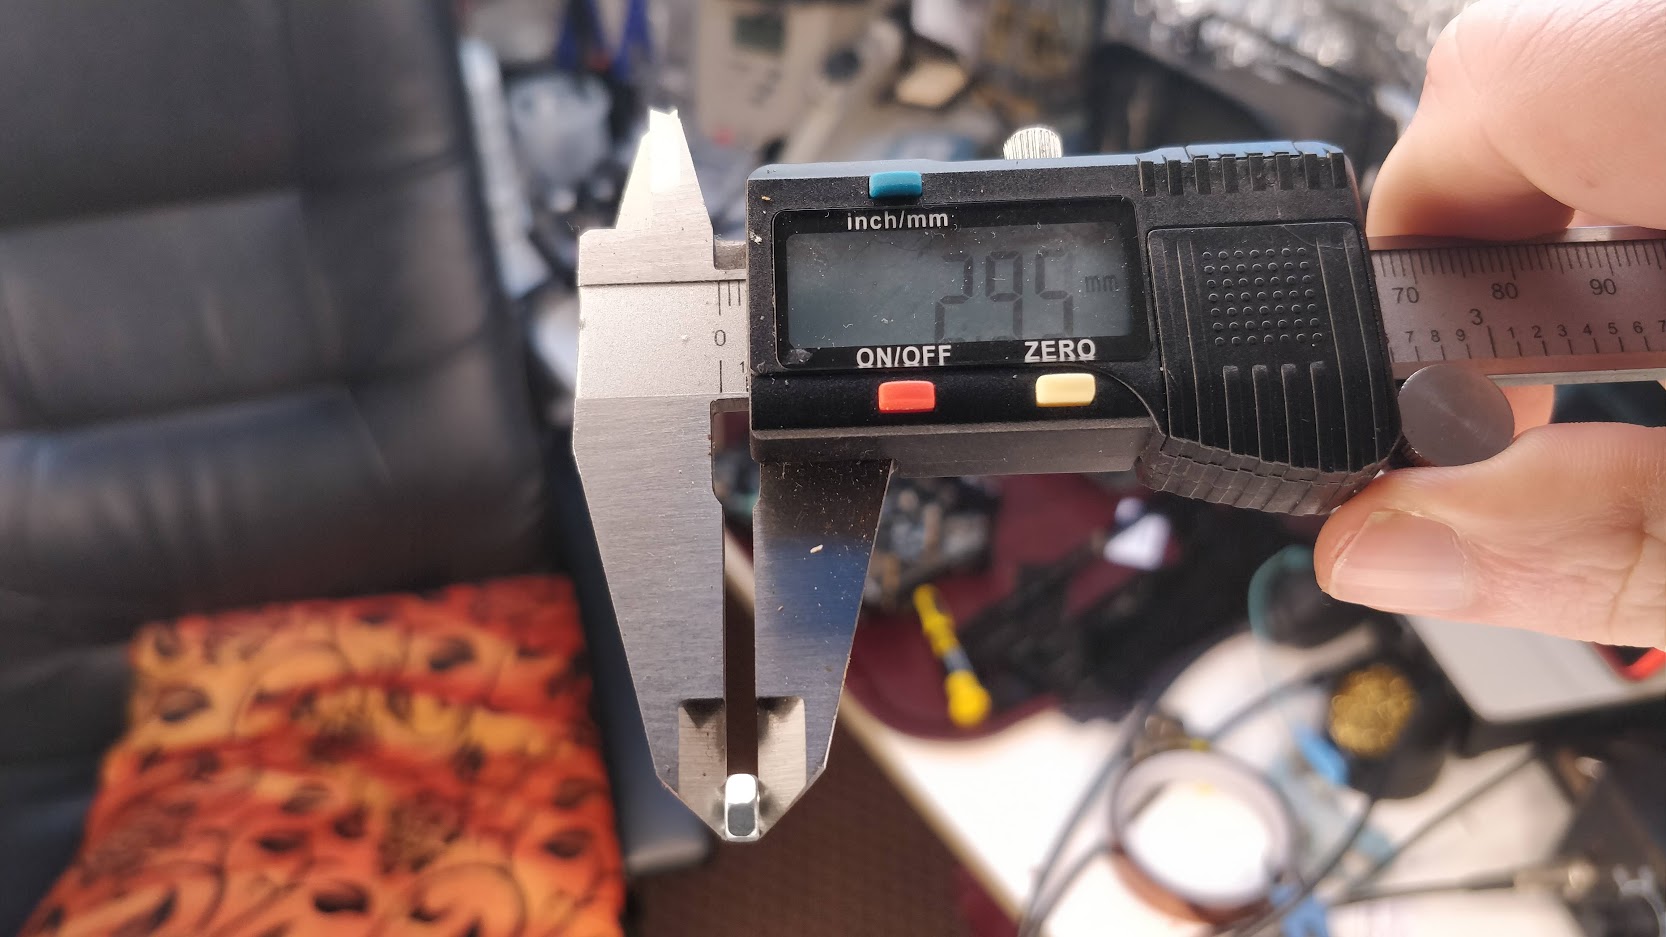
I just measured with the caliper and think there should be >2mm of clearance, if the 8-pin connector has been filed “flat” at the top:
The OLED pins should be cut close to the PCB, that is very true:
We are aware of space restrictions within the case, but wanted to create a really slim DIY device, so this is on purpose!
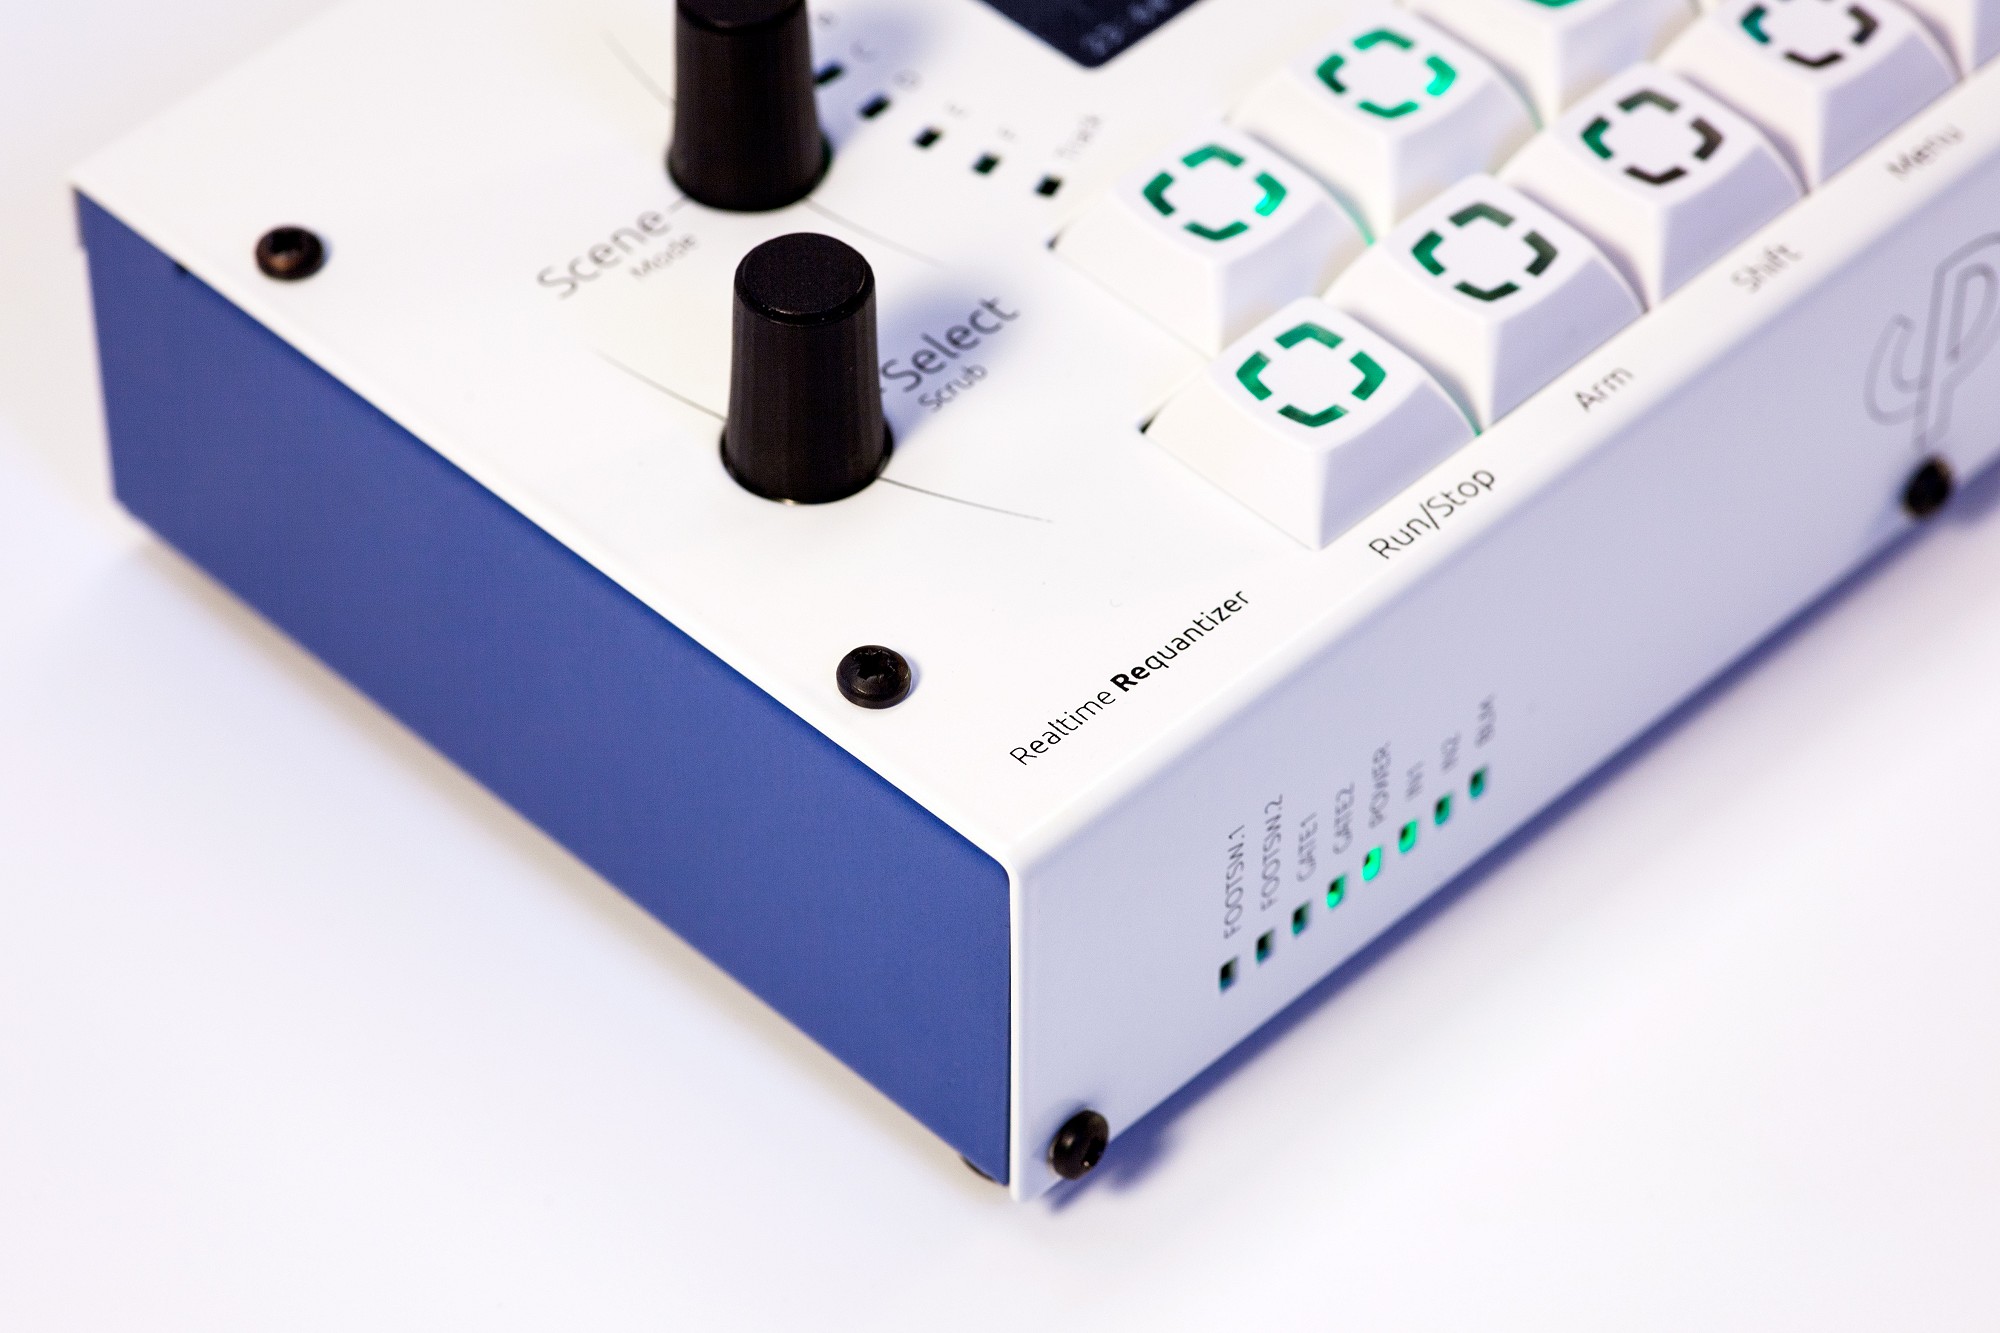
It seems bottom of the metal enclosure will be blue
Shhhh! Its a secret!
Guys i think the I was sent the wrong sized nuts for the rear acrylic panel where 2 nuts slip into the slots.
The nuts have a 3mm height and will not fit.
Luckily I have 3mm nuts with a height of about 2.3mm that will do the job nicely.
I think you are right with the M3 nuts for the case interlocks, these should be low-profile nuts and we probably have packed normal-sized M3 nuts in the first kits.
We’ll contact all customers of the acrylic kit variant and (if required) send them eight replacement nuts!
Other than that: hope the build went well for you and that you enjoy your new toy!
Many greets,
Peter
Thansk guys!
Yes even a noob like me can reproduce which is a good sign and will hopefully inspire other newbies!
By the way, all images have been fixed in my previous posts.
I tried the right clicking, “copy image” and pasting from google images which caused the problem.
This usually works fine on other sites but not with Community Software forums apparently.
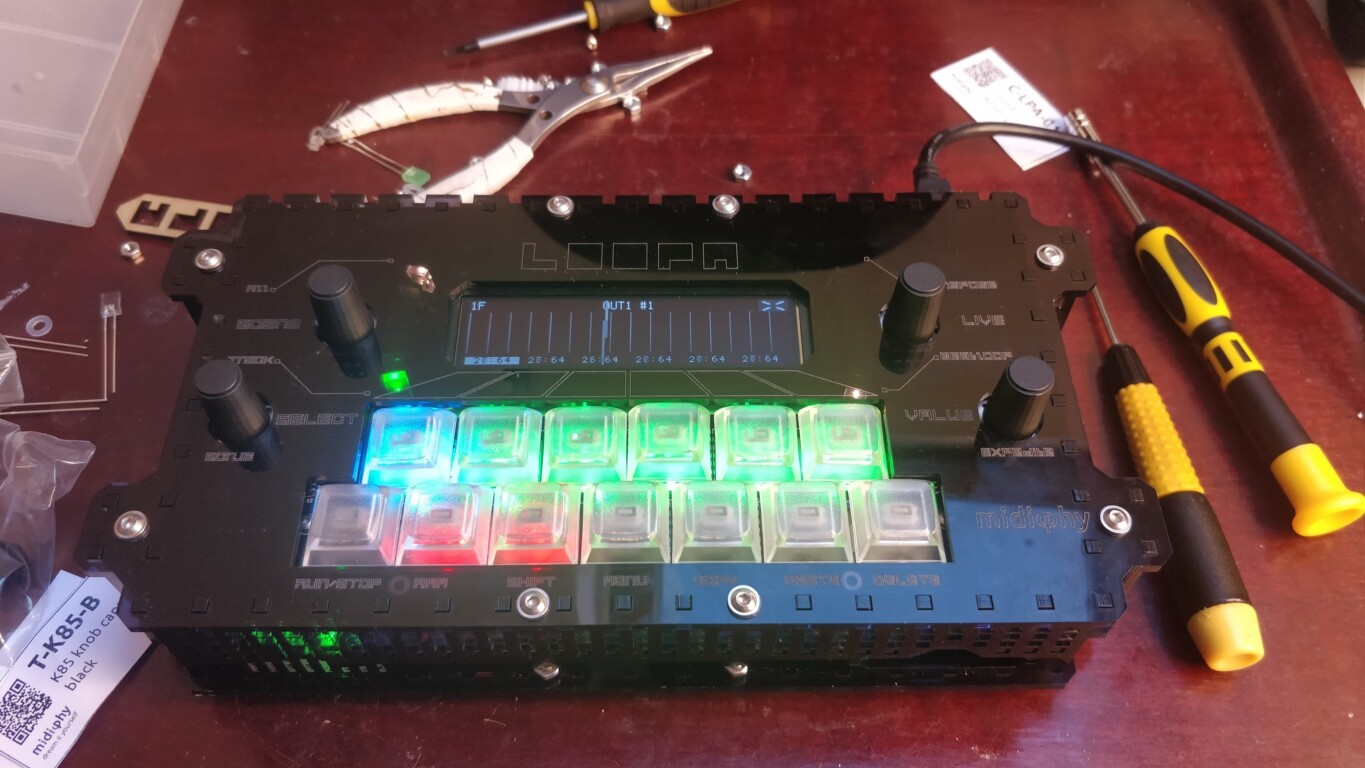
Here’s the time lapse video i recorded of the LoopA.
I gave up on the solder paste and hot air method early in the build, as the solder paste I used didnt come with a plunger and my plunger was a bit too narrow.
I have officially converted over to drag soldering now and its much faster.
When I soldered the Mattias switches the recording stopped as a calendar notification popped up on the phone!
Luckily its 99% of it is there!
Thanks again to everyone involved,
everyone is credited at the end of the video.
, super cool and very nicely done! What was your total time to build it? 8-10 hours? Now awaiting your first official jam with it!
Many greets!
Peter
Lost count!
Friday i spent most the day, saturday a half day, Sunday a half day, Monday most of the day, and finished it before lunch on Tuesday.
But i take my time with things like this, and encountered a few problems like trying to fit the microcontroller in and cut all the legs!
I think i was being overly cautious with cutting those pins as close as possible.
Good afternoon, I introduce myself, my name is Juan and I currently reside in Spain.
I’m a noob to synthesizers and music making gadgets, and when i saw loopA i knew i
wanted to have one. So, little by little I was saving somemoney and after several
emails with Peter, I decided to buy the device and finally I managed to build my
loopA. Thank you very much to the team involved in buildingthis project.
With your permission I am going to use this forum thread to ask my questions.
I have problems to use software synth soft via virtual USB MIDI port.
Configuration: windows 7. midi controller keyboard to computer and loopA to
computer too. But dont work. ¿any suggestion?
welcome to the MIDIbox forums and great that you built a LoopA and that it already works!
If I may ask, how was the build experience from your point of view?
Regarding your question:
I would recommend the following setup - i also have an X4 mini keyboard by the way, it’s a cool and portable keyboard that fits perfectly with the LoopA!
Connect the X4 Mini via a MIDI cable to the LoopA MIDI IN1 port.
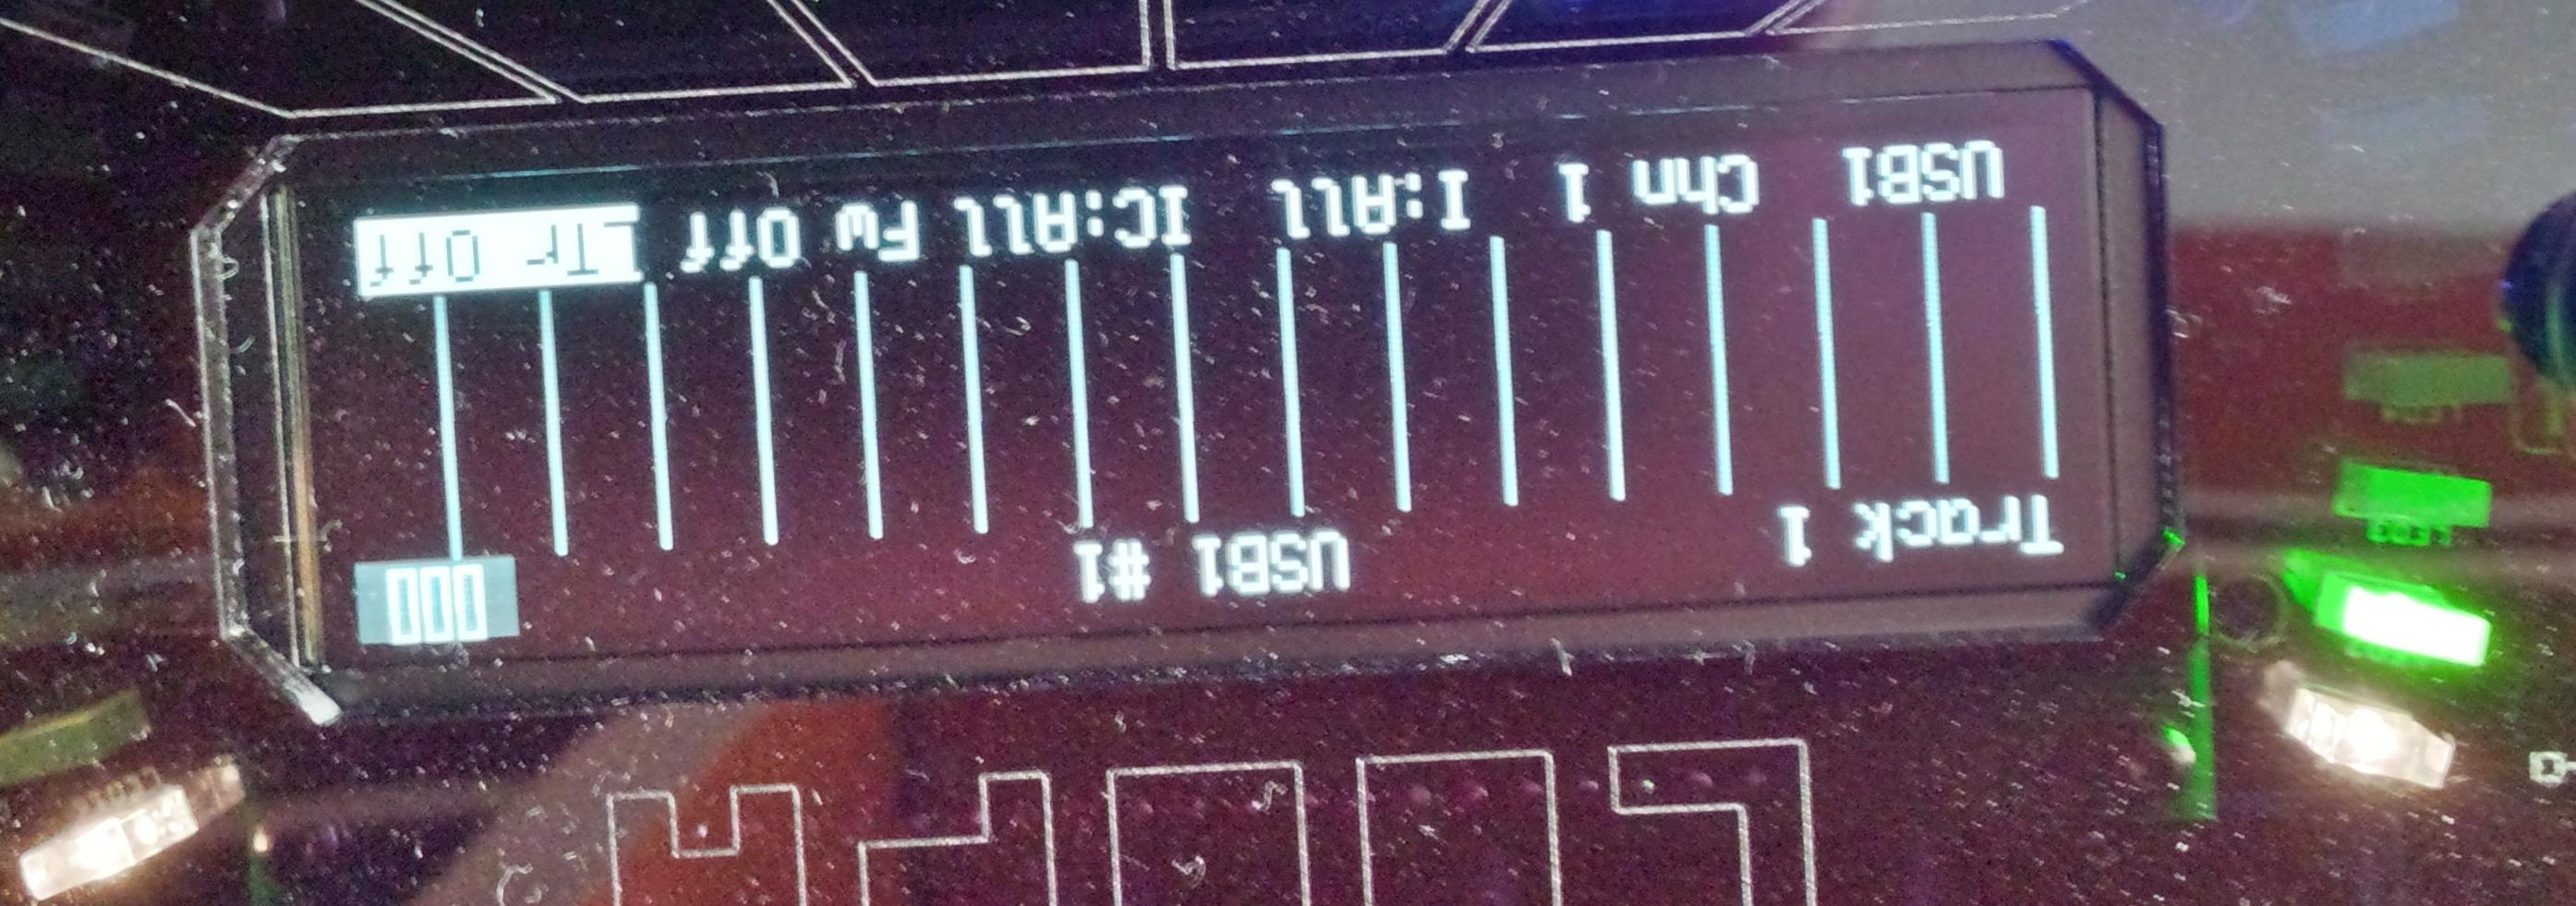
Go to the Track screen (same as in the picture) and change “Fw Off” to “Fw On” (MIDI forward on) -> this will forward any MIDI notes received from the X4 mini to the configured output device - in this case USB. The USB1 Chn 1 setting shown on the photo is correct, if you want to play a software synth/VST on your computer.
Arm the LoopA (the red LED on the ARM key lights up) and hit the RUN/STOP key on LoopA. The time cursor should start moving. When you now play notes on the X4 mini, the notes should be recorded in the LoopA (instantly shown on the screen).
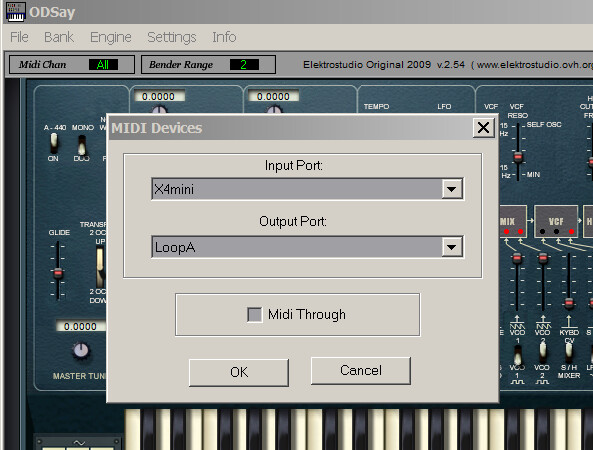
Very important and most likely problem: In your software synthesizer, configure the LoopA as an INPUT port for the software synthesizer, currently you have the X4 mini there (directly playing from the keyboard). That’s why we moved the keyboard over to the LoopA.
Result: now you can record notes with your X4 mini directly on the LoopA, without the computer. As you enabled “forwarding”, every note you play on the X4 mini is directly forwarded to your computer (USB 1, Chn 1). You’ve also already correctly set up your user instrument “ODSAY_VS” in the setup.txt, so you could select this output port in the LoopA instead of USB1 / Chn 1. Your VST (software instrument) must be configured to use the LoopA USB device as an INPUT (important!), then the VST will play the notes. When the LoopA is armed and looping, you will hear what you’ve recorded earlier on.
Now you can expand your setup, e.g. with other hardware synths (directly connected e.g. to MIDI OUT1-3 of the LoopA) or software synths.
Also, there should be a new LoopA software version coming soon, with more features, am working on it :).
welcome to the MIDIbox forums and great that you built a LoopA and that it already works!
If I may ask, how was the build experience from your point of view?
Hey !!
Thank you very much for your invaluable help, now it works!
Regarding my build experience, I built it in 7 days while listening to Vangelis songs:
From my point of view the construction process has been easy due enormously to the clarity with which you explain in the assembly video. I have never soldered SDM components before !! Although I think I have a knack for it and have always tried to make fair and shiny welds.
Specifically, I had to cut some black plastic from the MCU board’s JTAG connector because when assembling it collided with a pair of 100R or 220R resistors: (chapter timetable 30, 31 of the assembly video).
Also cut the pins of the MCU board so that they do not collide with the acrylic case
They were a little tedious because I had too big cutting pliers, but it is not a problem if you have the appropriate size cutting pliers.
We look forward to that new update!, with new functionalities to continue exploring the loopA.
, thanks a lot for your build report! Yes, definitely - every millimeter is used in the case, we did this on purpose to create a very slim unit, probably most other DIY builds with three layers of PCBs are a bit taller.
Hope you enjoy your new LoopA! Will notify in this thread, once the new software version is available!
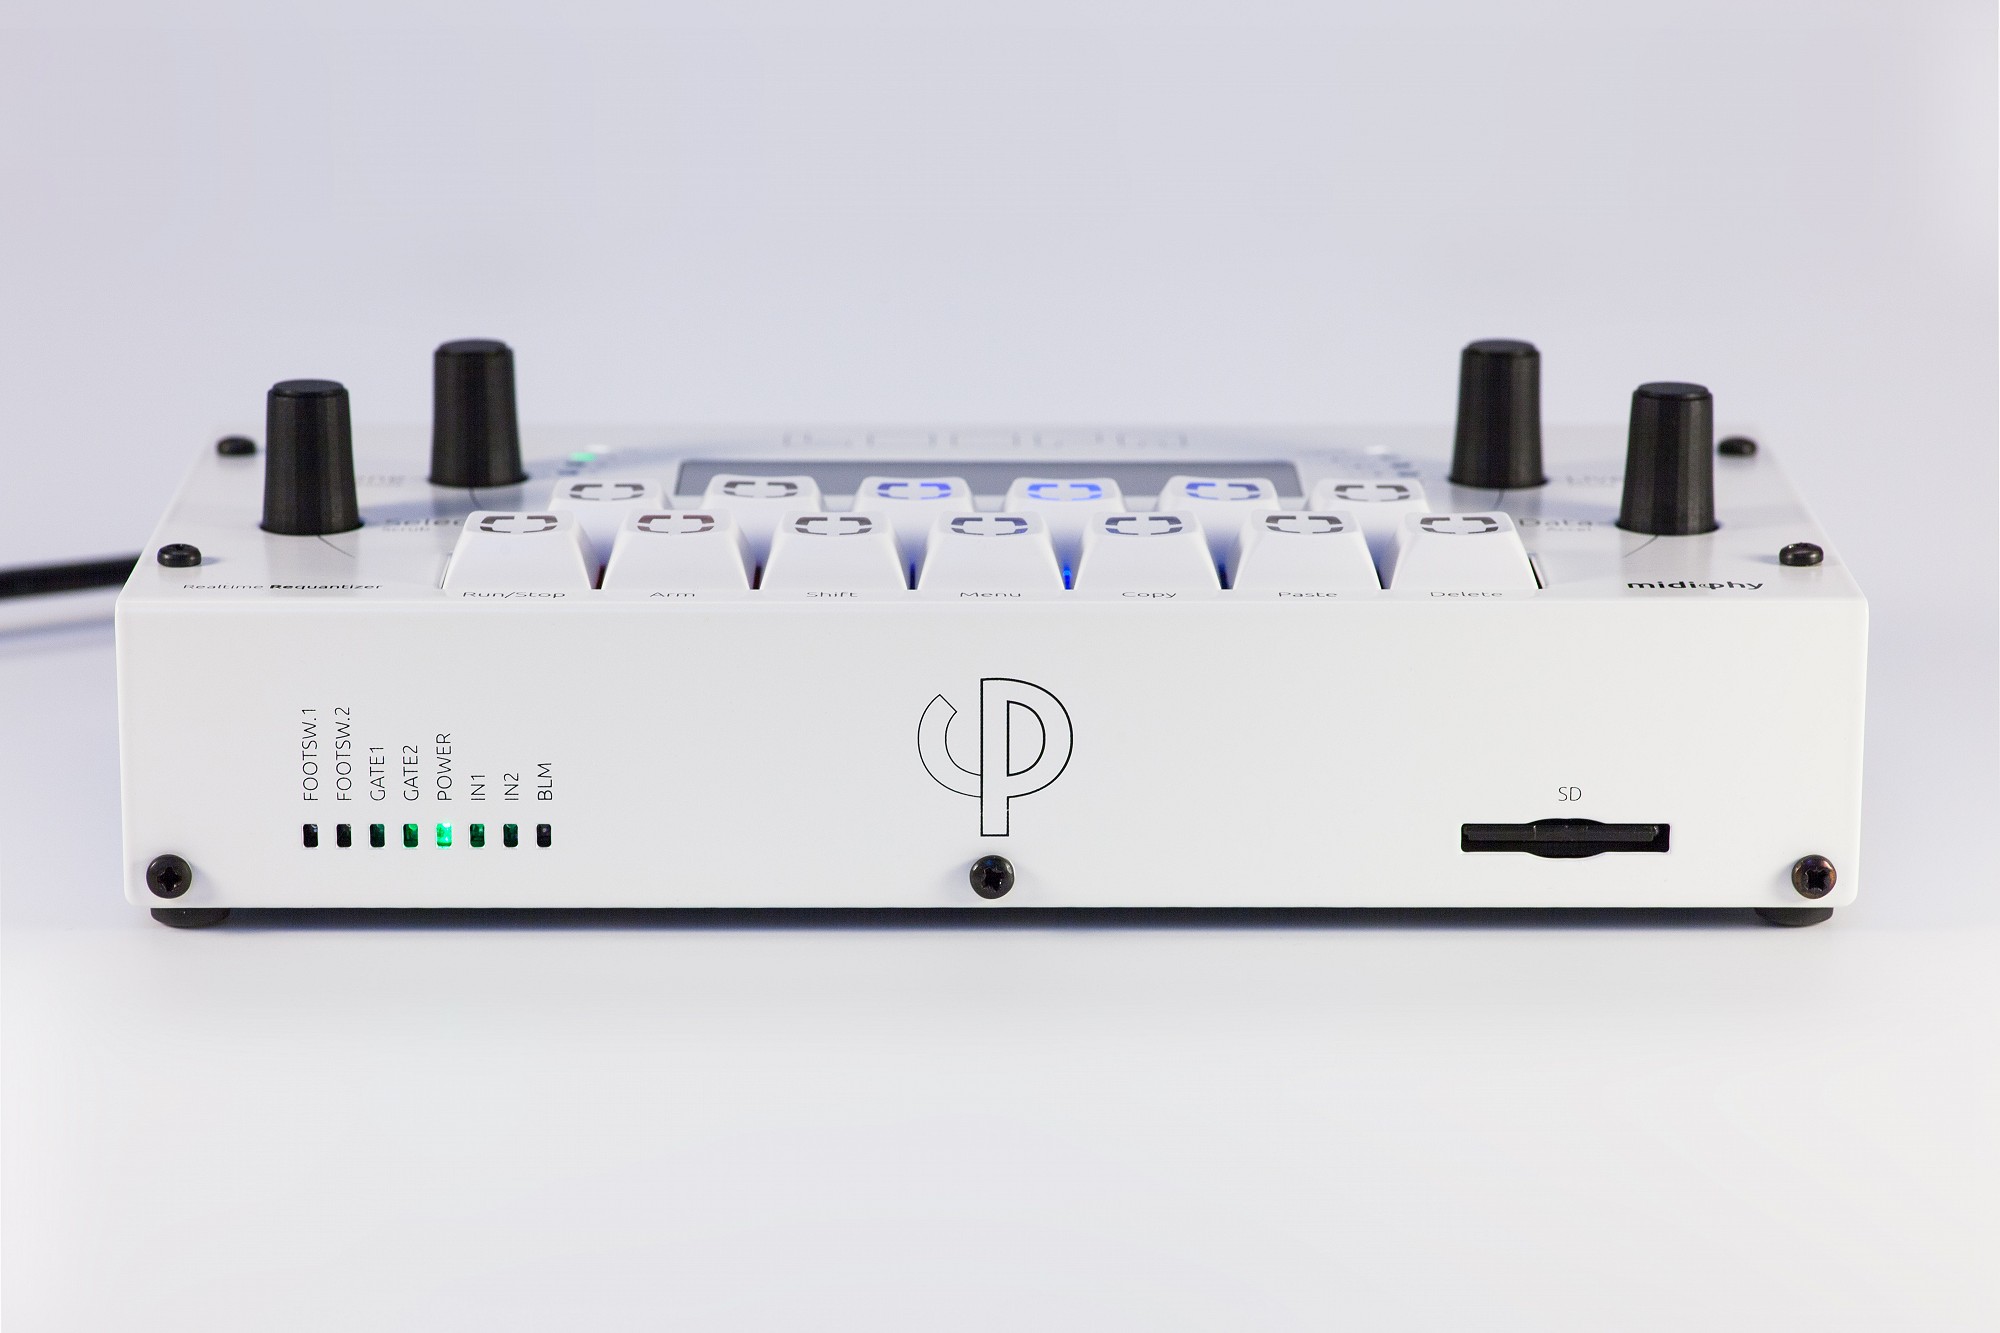
The metal case LoopA kits are now available - fantastic work by Adrian from Hallik Engineering!
Also, this kind of reveals the new “2020 facelift” keycap style
A LoopA firmware update with quite a few enhancements is now available for download.
New features:
* Now supporting 256, 512 and 1024 step-equivalent clip lengths (previous limit was 128) - you can now create clips with loop lengths of minutes .
* Improved display responsiveness/refresh rate, if the LoopA core is not under load
* Improved initial BPM/timing stability, just after a sequence was started
* Added customizable footswitch functions: choose any two of eleven new footswitch actions!
* The new “Cursor Erase” footswitch action overwrites clip notes under the time cursor, this allows for live re-recording of new notes while the sequencer is running
* The new “Jump To Precount” footswitch action allows jumping to a count-in point of a sequence, simplifying re-recording of a clip
* New option “Track Switch”: when enabled, “long-pressing” a mute key directly switches to that track
* New Option “Tempo Up/Down”: Configurable BPM delta speed (faster/slower buttons), perform linear BPM fades in five preconfigured speeds
* New Option “Follow Track”: automatic track following when muting/unmuting, can be set to “disabled”/“when unmuting”/“when muting or unmuting”
* New Option “LED Notes”: visualizes played notes via temporarily red illuminated track buttons in the MUTE screen - when the sequencer is running, this indicates which track is actively playing notes


")