Thanks… I suspect you are right on the leds… Still, it was worth a go. Wish I could work out why they don’t work! Assume it must be something to do with the matrixing circuit.
I guess if the transistors were damaged I would probably have missing leds when running the test.
Might just have to bite the bullet and start desoldering…
Hi all, have now desoldered 100 colour cycling LEDs and replaced with single colour… this appears to have solved the issue: no more distortion on the screen, all buttons and encoders now seem to be working fine.
Not sure if it’s possible or sensible to add this information to the WIKI… desoldering 100 LEDs was very boring, I’d hate for anyone else to try and be clever
For some reason core 4 is not being recognised at the moment, hopefully an error programming the PIC or a short/missed connection that is easily fixed. It seems I also blew some EPROMs with the reverse voltage from the screen… otherwise all seems well now.
Thanks for the advice!
everything now seems to be working A-OK.
A number of the “factory” patches I have seem to make no or very little sound as stock… not sure if that’s because they were made for v1/6581s or something?
just changing the oscillator waveform usually springs them into life. The drum kits seem to be good examples of this - although initialising a drum patch seems to work just fine. Pretty sure this is all user error somehow, so am looking forward to learning what I’m doing…
anyway, just wanted to thank everyone for all the help offered, this was right on the edge of what I was confident doing and has turned out better than I could have hoped and taught me loads along the way, plus now I have a really amazing sounding synth!
ah, great thanks!
to begin with I thought I had issues with some of the SIDs, but then initialised patches always sounded ok, so I assumed i’d missed something.
Agree with Hawkeye. The different SID types make thinks a little wacky, but after setting up your ensemble it should be good. Changing the LOG flag is the most important, but I also found that adjusting the min and max filter values was a big help. Just go by ear
Most of the circuitry in the MB-6582 is digital, so it’s pretty straightforward. If it seems to be working mostly as expected, ie changing patches, responding to input, proper LEDs lighting, then chances are that any hiccups come down to setting options in the software correctly. The synth engine is really complex, so it’s easy to miss something and get unexpected results!
I haven’t had much time for building lately. And of course I found this site https://www.parasitstudio.se/ , and thus another project to add to the pile of unfinished ones. I’m sure that I am the only one on this forum who owns such a pile…
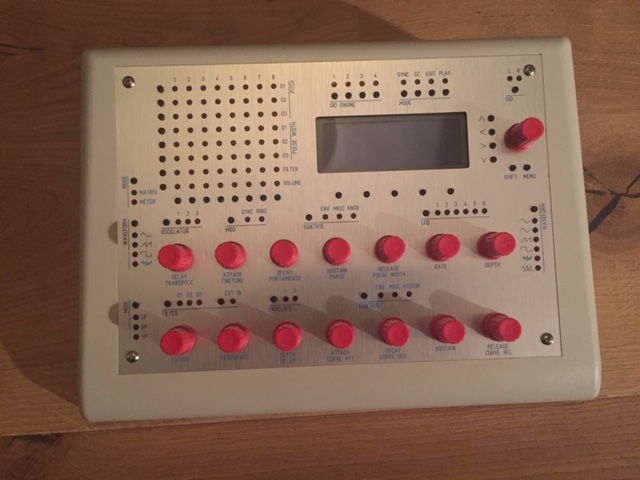
This weekend, however, I got some time for the MB6582 and finished the control surface. I didn’t get the buttons to line up perfectly. So attaching the front panel was a real pain. (My girlfriend actually suggested that I open a window so I wouldn’t break it if I was to throw the synth out through it.) I really hope that everything works when I have finished. Because I really don’t want to do that again with 100+ LEDs to think about as well.
I had similar issues with the buttons, they are a bit of a pain!
I have to use tweezers to push them into place from the top everytime I put the faceplate on…
The LEDS were a lot less of an issue, as they sit into the holes, and are a bit further back than the buttons. Although as I had to desolder mine, they were a lot less easy the second time round, and a couple are slightly misplaced… was so happy to have it working I couldn’t face going back to fix them. Maybe one day!
Good luck with the rest of it! (looks like it’s on the home straight now anyway!)
Had my first proper play with mine the other day, and I heartily recommend finishing it, it’s such an awesome synth - so many modulation options and just the hugest sound, feels like just what I was looking for really.
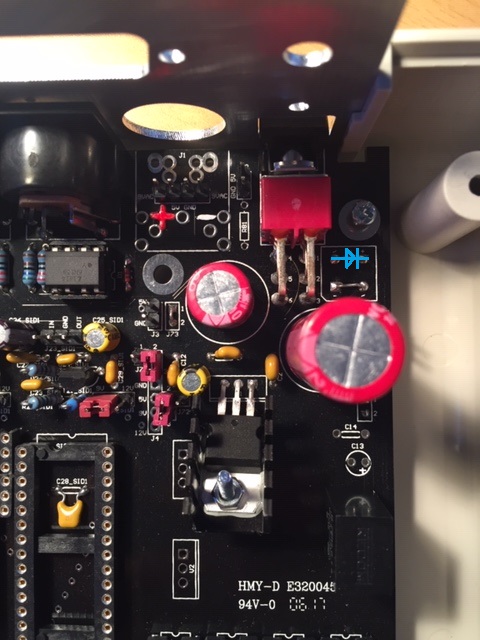
I’d like to reverse-polarity-protect the MB6582. I assume that one of the left over 1N4148_T** 50A** https://no.mouser.com/ProductDetail/512-1N4148T50Awouldn’t do for this job. What diode would I need? And where would be best to place it? Was thinking about some of the unused (right now bridged) connections for the bridge rectifier B1.
Unfortunately I know next to nothing about best practices when it comes to polarity protection. My own MB-6582 is polarity protected solely by virtue of its oddball 7-pin DIN connector.
That said, I think either 5819 or 5817 *should* work in the given position. 5819 has a slightly higher voltage drop, but I don’t think it’s enough to stop the Vreg from working.
You may also want to look over the power circuit and BOM in the sammichSID. No schematics available unfortunately, but it’s not a big or complicated circuit and there’s a good image available of the board traces, so hopefully not too hard to trace. The sammichSID, IIRC, keeps the bridge rectifier in place even though it’s not necessary for rectifying a C64 psu. This is handy because not only will it protect against reversed polarity, it’ll function normally no matter what polarity supply gets used. I’m not sure what bridge rectifier is used, but it apparently has a small enough drop that the synth functions fine on 12V.